Review: YC Onion Pineta Peak Tripod System
IEBA's Anthony Burokas reviews a new low-cost, sturdy three-stage tripod system from YC Onion that's well-suited to live production with DSLRs and smaller camcorders.
Page 1
There are a lot of choices for tripods out there. You'll find everything from budget tripods for under $100 to thousands of dollars for a tripod. Regardless of what you pay, the most important factors to consider when choosing a tripod are stability, practicality, and usability.
In this review, I'll be looking at the new YC Onion Pineta Peak tripod. I find this tripod particularly useful because of one really important feature: the single levers at the top of the tripod that completely open up all three stages, top, middle, and bottom (Figure 1). So what would be two potential locks that you would have to open and close manually are done right at the top.

Figure 1. These levers open and lock all stages of the tripod
I've seen this feature elsewhere on more expensive tripods that I won't name, but this is the first time we're seeing it on a more affordable tripod like the Pineta Peak, which lists for $699. Unlatch all three of the top latches, then latch, latch latch, and you're done. If you want the tripod a little bit lower, unlatch all three, bring it down, and this solid three-legged carbon fiber tripod is ready to go.
Adding Height
You'll also notice in Figure 2 that the tripod has three different bubble levels at the top. One is the bubble level for the legs themselves. There's also a ball head on top, but you can also fill this with a telescoping central post that it is not going to make use of the bubble level. So if you don't have the bubble level, the level on your legs and the level on the fluid head are going to be very important to know whether your camera is level. This setup has this space in between here and I can open this up. I can get my level and then lock it right up and then it's stable.

Figure 2. Three different bubble levels
That leads to one of the neat tricks with this tripod is that you can take out your ball head and then drop in a telescoping mount that locks into place (Figure 3).

Figure 3. The Pineta's telescoping mount
Then you just use the control shaft lever in Figure 4 and now all of a sudden get extra height.

Figure 4. The control shaft lever for the telescoping mount
The bottom of the shaft has a little hook so you can add some weight for stability. It has a bayonet lock right there, so you're locking it right at the apex of the three legs of the tripod. Then you take off the ball head itself, that's all it is, and then you can put the head right on top of that central post (Figure 5). This means when you need it, you can position your camera over people's heads without even extending the legs all the way, and nobody's going to get in front of that camera. Of course it does make it a little bit more difficult to control your camera unless you've got an app or some way to do it remotely.

Figure 5. The head mounted on the central post
Accessories
Some of the tripod accessories that come with the Pineta are grippy rubber feet with multi-angle heads, spike feet, and some extra hardware. In terms of protecting your gear, you can just pop it the bag as shown in Figure 6, Velcro the legs down, and you can protect the head as well. Then you can zipper the bag shut.

Figure 6. Storing the tripod safely in the Pineta Peak bag
The Tripod Head and Plate
Now, there are a lot of little things to pay attention to on this tripod head as well. First on top of the actual legs, you've got the three-hole mount, which has anti-twist holes, a 3/8" hole (Figure 7), and then on the other two sides are a 1/4" 20 hole. You can take the handle out if you want and have three mounting points at the top of your legs. That's unparalleled.

Figure 7. The 3/8" hole on the tripod head
Today, with mounting recorders or transmitters, that is insanely handy. I have a Bogen tripod that I use for other things. It has one and I use it all the time. In fact, I leave a magic arm connected to the top of the tripod. This one has three mounting points at the top.
The tripod plate also has a bit of innovation in and of itself. We loosen it a little bit and then there's a little push button right, so the plate comes right out (Figure 8). When you want to put it in, it pops into place and then you can tighten it. This really serves to allow you to balance the plate. It's not going to fall out forward, it's not going to fall out backwards. It allows you to balance your camera within the throw of the plate and then to open it, you push the button and it comes right out. Super easy.

Figure 8. Popping out the QR plate
It's got two different mounting points for the backstop (Figure 9). If you want to use those, you put it right in here, lock it into place, and tighten it down. YC Onion provides a little hex key for locking these tight and then it fits into its own little magnetic held slot.

Figure 9. Mounting points on the underside of the QR plate
The only downside to this is they give you both 3/8" and 1/4". If you want to mount something 3/8", you can put the 1/4 "20 right here. If you want to use the 1/4" 20, there's no place to put the 3/8" thread. You would think over here there'd be a 3/8" mount, but there isn't just the 1/4" 20 hole right here. That's all there is, so put it in the bag and hope it stays there and it's there when you need it.
Another thing to consider on a head that is as lightweight and basic as this is that there's not really any adjustment for the amount of friction. You can loosen this and it's got some fluid in there. You can loosen the tilt and it's got a little bit of fluid as well as a bit of counterbalancing, which is probably good for a decent DSLR rig, but I wouldn't put a really heavy camcorder with a long lens on top (Figures 10 and 11).


Figures 10 and 11. Tilting the head
You'll have to figure it out for yourself and where it balances. You can tighten it for a little bit more friction, but that's really not the way to do it. You have a set amount of friction, not an adjustment, and the knobs shown in Figure 12 really serve as locks to hold it in place.
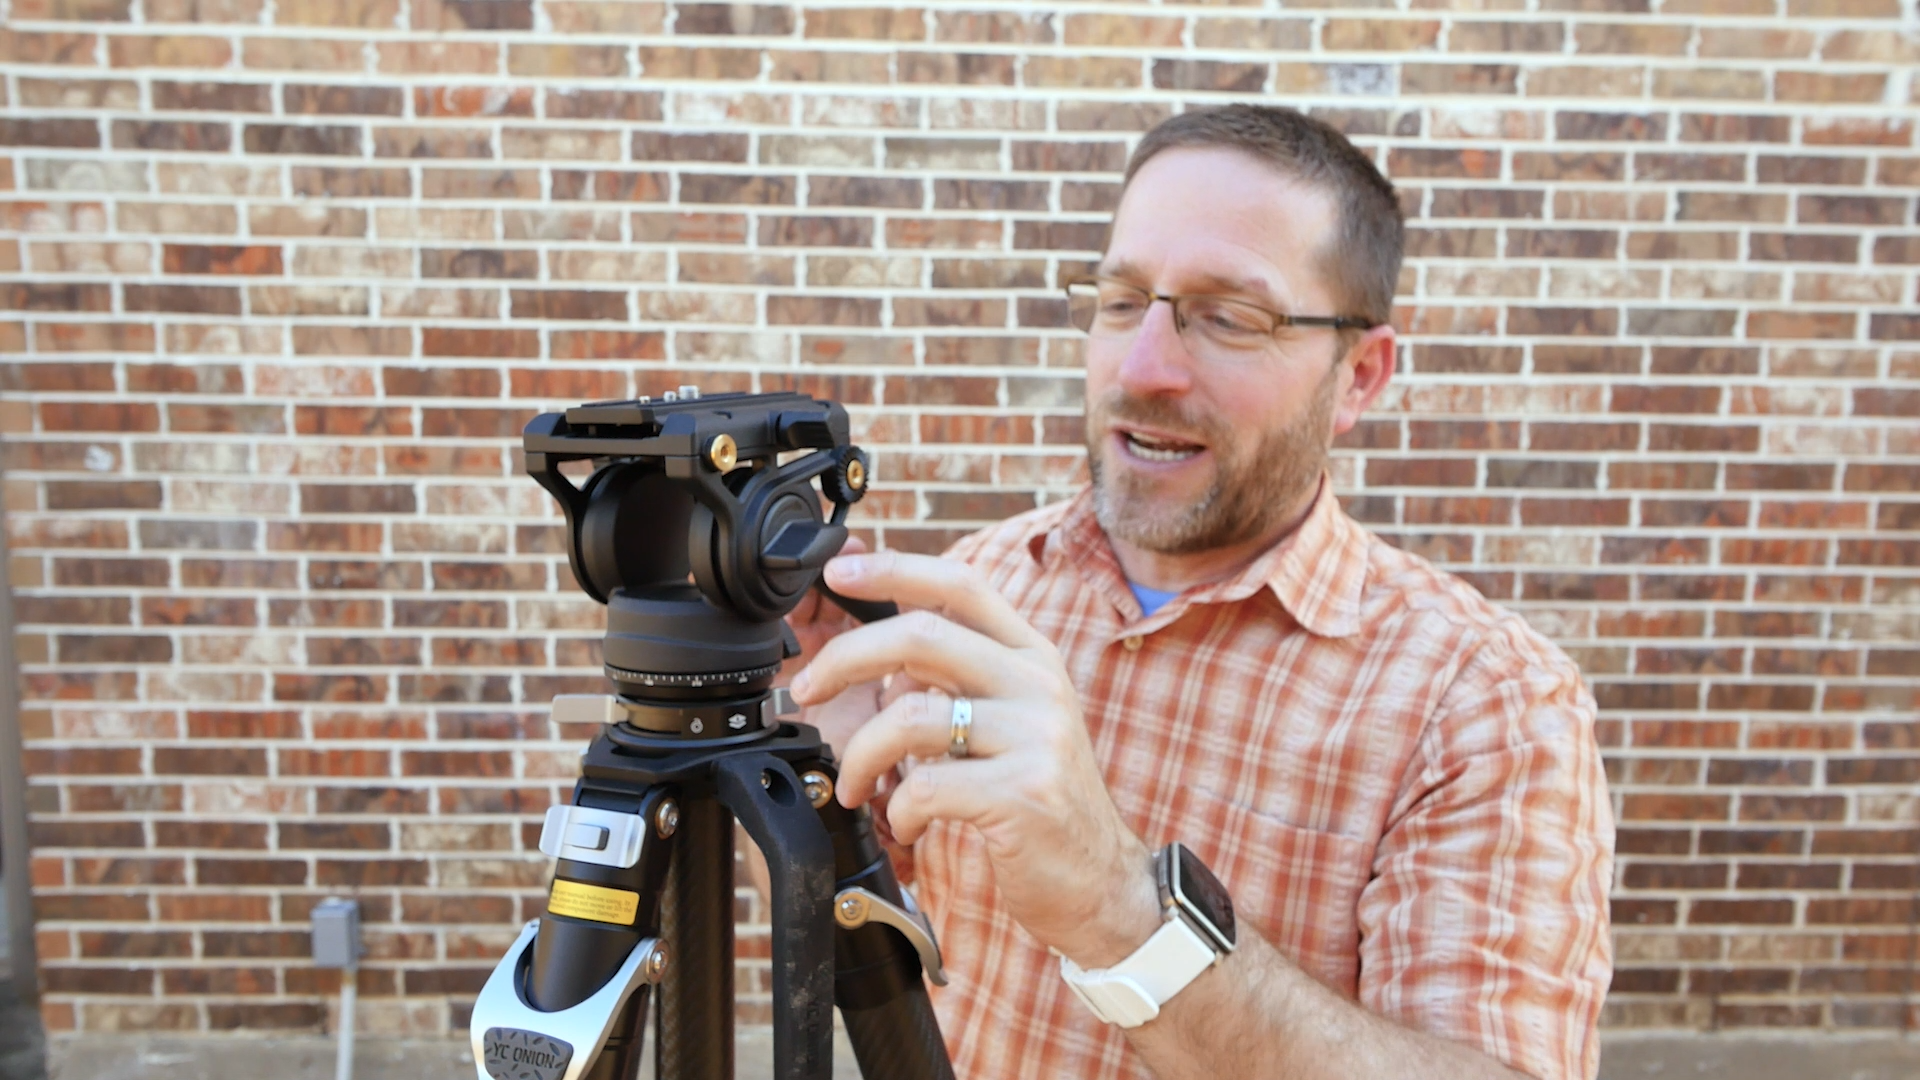
Figure 12. Use these knobs to lock the head in place
Another thing I'm going to mention is the tripod handle I'm using in Figure 11. It looks like an ultra-tiny tripod handle, but there is actually a releasable thread that you can tighten. It doesn't stick out like there's no extra lever to it. Also, the handle is nice and thin so that if you want to use it to mount some sort of zoom control, it is nice and small and easy to use. It also is very straight. You don't have to get over something and it doesn't have a big bowl in the middle.
This has been my look at the new YC Onion Pineta Peak carbon fiber tripod system. It's not necessarily just a tripod. It's not necessarily just a telescoping center column or ball head or quick-release top plate. It's all of it put together into one nice package. I find this really handy and in terms of making it so you don't have to focus on all the little doodads and whatnots.
In 2017 I did a review of an iKan E-Image tripod that has single adjustment on the leg, but that was just a two-stage tripod. This is a three-stage tripod with a telescoping center column that gets your camera way over the heads of everybody else.
Page 1
Related Articles
This review looks at 2 affordable E-Image tripod systems sold by iKan, assessing the tilt, panning, and counterbalance adjustment controls on the heads; the locking systems on the legs, and more.
What do you look for in a tripod? Knoxville, Tennessee producers Paul Schmutzler and Jacob Dean explore this and other questions in this video review of the Manfotto 546B tripod along with various fluid heads and different camera rigs.